Master Cinematic Lighting: Advanced Techniques for Any Set

Lighting. It’s the invisible architect of emotion, the silent storyteller that transforms a mere shot into a cinematic experience. While understanding the foundational three-point lighting system is crucial, true mastery lies in moving beyond the basics, manipulating light with intent to sculpt mood, guide the eye, and evoke powerful feelings. For those looking to elevate their craft and achieve that coveted "cinematic look" on any set, understanding advanced lighting techniques is not just an advantage—it's essential.
Whether you're working with a minimal setup in a cramped indie shoot or commanding a full lighting truck on a commercial production, the principles of advanced lighting remain the same: control, subtlety, and purpose. This post will delve into sophisticated strategies that empower you to harness light as a potent narrative tool, ensuring every frame tells a compelling story, regardless of your equipment or location.
Beyond the Three-Point: Shaping Light with Precision
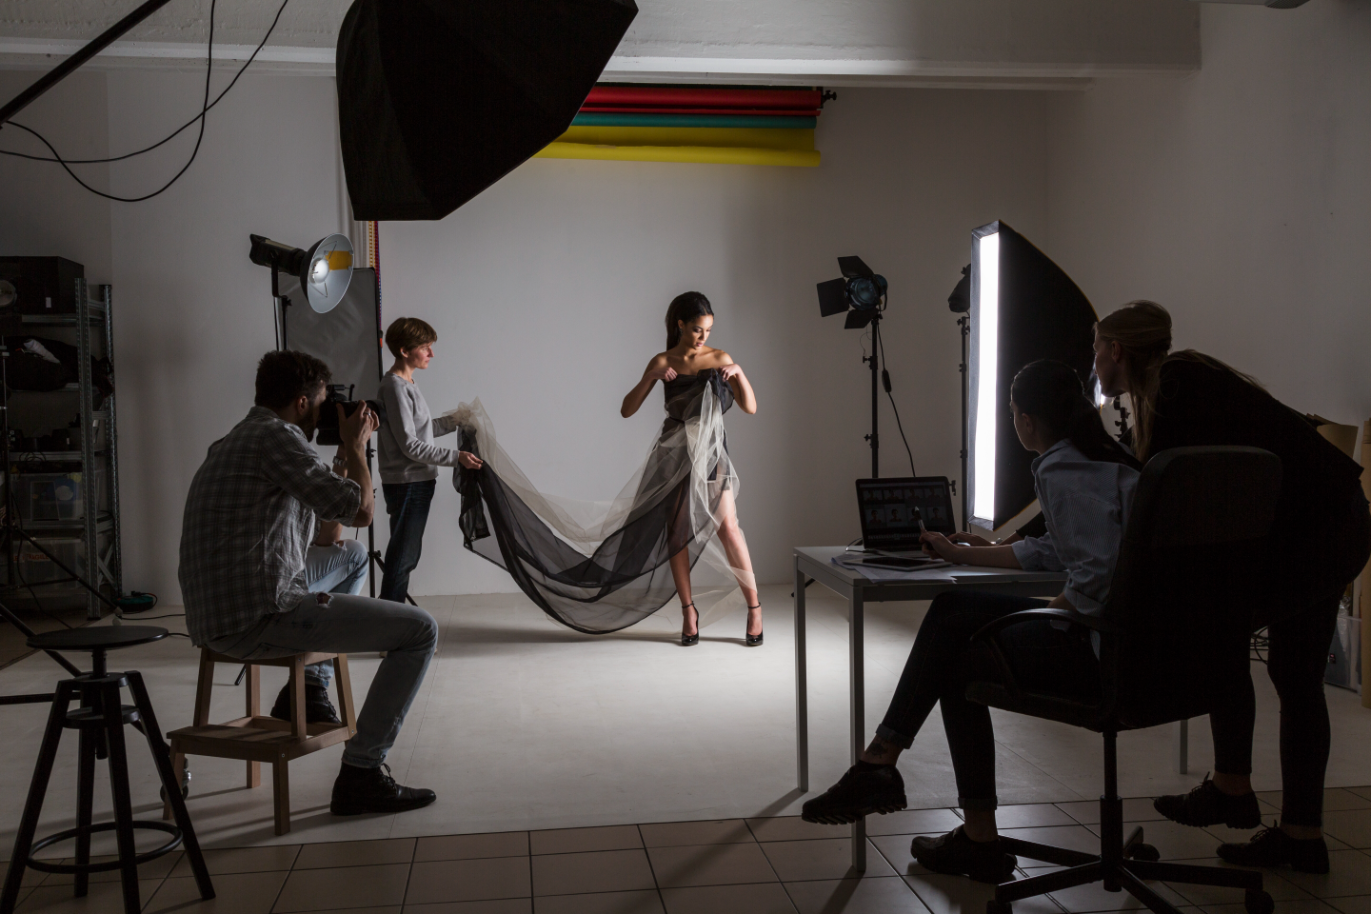
The three-point lighting system (key, fill, back) is a fantastic starting block, but it's just that—a start. True cinematic lighting goes far beyond merely illuminating your subject. It’s about shaping the light, controlling its spread, intensity, and quality to create depth, dimension, and focus. This involves a suite of tools and techniques designed to refine and direct every photon.
One of the most powerful yet often underutilized techniques is the strategic use of negative fill. While positive fill (adding light to shadows) is common, negative fill involves absorbing light to deepen shadows and enhance contrast, creating a more dramatic and sculpted look. This can be achieved with black flags, blankets, or even black foam core placed opposite your key light. Similarly, mastering diffusion (softening light) and flagging (blocking light) with barn doors, cutters, and various silks allows you to precisely define the edges of your light, preventing spill and directing attention exactly where you want it. Experiment with different densities of diffusion and various flag sizes to understand their nuanced effects on your subject.
Practical Tip: Sculpting with Flags and Reflectors
Don't just think about where to add light; think about where to remove or redirect it. Use small flags or cards to create subtle fall-off on a subject’s cheek or hair, defining their form. Conversely, a small silver reflector can add a sparkle to an eye or lift a shadow in a specific area without broadly illuminating the entire scene. The goal is surgical precision in light placement and shaping, treating light like a chisel on a sculpture.
The Art of Motivated Lighting & Practical Integration
Cinematic lighting rarely feels arbitrary; instead, it often appears to stem from a logical source within the scene itself. This is the essence of motivated lighting – light that has a believable, in-world origin. Whether it’s a lamp, a window, a television screen, or even the glow of a phone, integrating practical lights into your setup can dramatically enhance realism and immersion.
When working with practicals, the challenge lies in enhancing their output and quality to meet cinematic standards without compromising their natural appearance. Often, a practical lamp might not be bright enough on its own, or its color temperature might not match your desired look. This is where you can "cheat" by using a stronger, off-camera light source (like an LED panel or a small Fresnel) to mimic and augment the practical light's direction and quality. Gel these supplemental lights to match the color temperature of your practicals, ensuring a seamless blend.
Practical Tip: Enhancing Existing Sources
If you have a window as a motivated light source, consider placing a powerful LED fixture or HMI outside, bouncing light off a large diffusion frame to simulate a soft, overcast day, or directing it through a hard cucoloris (cookie) to create dappled sunlight. For interior lamps, replace their standard bulbs with higher-wattage versions (if safe to do so) or practical LED bulbs that offer adjustable color temperature. You can then use a hidden small LED panel or a tube light, gelled to match, to subtly boost the light spill from the practical, making it feel more impactful and cinematic without looking fake.
Color and Texture: Adding Depth with Gels and Gobos
Beyond brightness and direction, the color and texture of light play a profound role in storytelling. Color can instantly convey mood, time of day, or psychological state, while texture can break up monotony and add visual interest, making a scene feel more dynamic and realistic.
Gels are your paint palette for light. A subtle straw gel on a key light can warm a face, suggesting comfort or golden hour, while a cool blue gel can evoke mystery, sadness, or a moonlit night. Don't shy away from experimenting with combinations or using gels to correct color temperature for a specific aesthetic. For instance, you might use a CTO (Color Temperature Orange) gel on a daylight-balanced LED to simulate tungsten light, or a CTB (Color Temperature Blue) to cool down an interior practical. The interplay of warm and cool tones within a single frame can add incredible depth and visual richness.
Practical Tip: DIY Gobos for Natural Textures
To add texture, consider using gobos (go-betweens). These are stencils placed in front of a light source to project patterns onto your background or subject. While professional gobos are available, you can create effective DIY versions with common materials. A simple piece of cardboard with irregular holes cut out can simulate dappled sunlight through leaves. A Venetian blind can cast distinct shadow lines, suggesting an interior space. Even crumpled aluminum foil can create interesting, organic light patterns. Position your light source to project these patterns onto walls or floors, adding visual complexity and breaking up flat, uninteresting surfaces, making your scene feel more lived-in and authentic.
Conclusion
Mastering cinematic lighting is an ongoing journey of observation, experimentation, and refinement. It's about seeing light not just as illumination, but as an integral part of your storytelling toolkit. By moving beyond the fundamental three-point system, strategically shaping light with precision, intelligently integrating motivated practicals, and thoughtfully employing color and texture, you gain the power to craft truly immersive and emotionally resonant visuals.
The techniques discussed here are not just for large crews and big budgets; they are adaptable strategies that empower any filmmaker to elevate their work. Remember, the best light isn't just seen; it's felt. Continue to experiment, learn from every shot, and trust your artistic instincts. For more insights, resources, and to connect with a community passionate about filmmaking, visit FilmBaker. We're here to help you bring your vision to light. Get in touch with us at https://www.filmbaker.com/get-in-touch.

